Routing Rules
Video Tutorial
Managing Routing Rules
Routing Rules allow an Administrator to define special criteria which governs what happens to incoming email messages that match this criteria, much like Rules in Outlook. These can be used to automatically log any common, frequently occurring incidents or requests with the necessary Team (and User) who can resolve the Case. For example a Routing Rule could be created that states all incoming messages with 'Support' in the email Subject get logged with the Support Team.
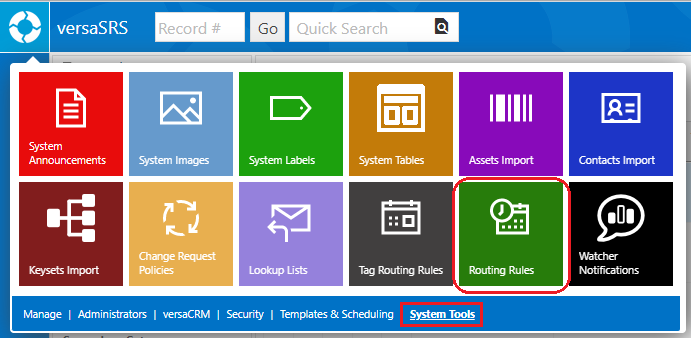
To manage Routing Rules select the Routing Rules icon from the versaSpinner - System Tools tab. In order to use Routing Rules ensure the Global Settings Application Property ApplyCustomRoutingRules is set to True.
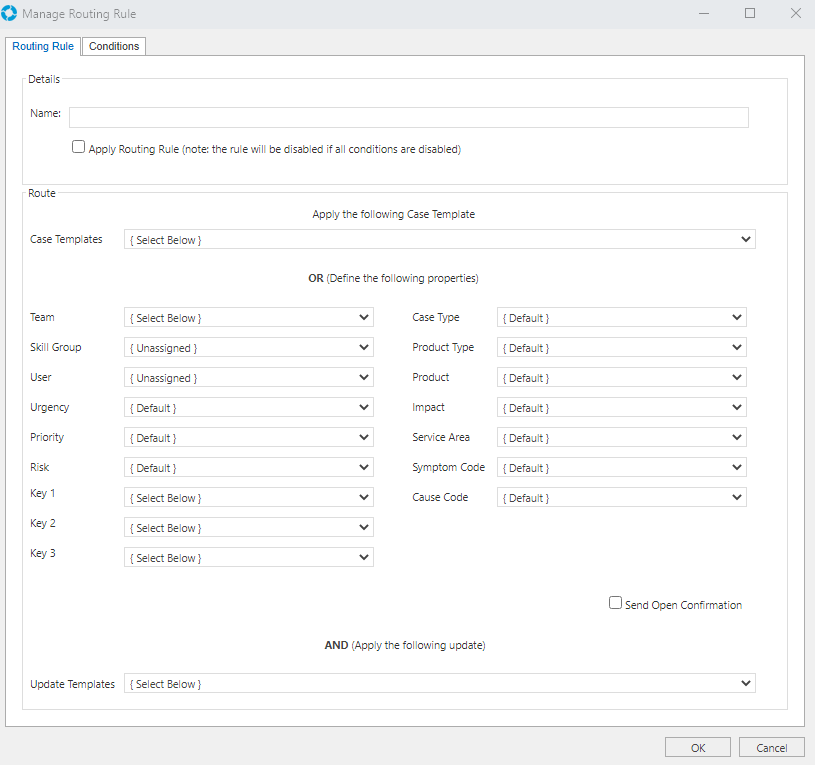
This will open the Routing Rules window, where Rules can be created, edited, deleted, and reordered as needed.
To create a new Routing Rule click the New button and enter an appropriate name within the Name field on the Manage Routing Rules screen; ensure that the Apply Routing Rule checkbox is checked.
Set the necessary categorisations for the Rule that determine how and where a Case will be logged if the Routing Rule is triggered. Alternatively, a Case Template can be applied to the Rule which will determine how and where the Case is logged. Due to certain scenarios that may occur (such as an employee termination) Routing Rules are unable to apply any Tasks that may be associated with the selected Template, you can use Tag Routing Rules instead if you wish to also create Tasks.
An Update Template can also be selected to apply a specific Update to the Case when it is logged by the Rule. An example of this usage might be to apply an Update Template to close a Case when the Subject line is 'Out of Office'.
Note: The Out of Office/automatic reply emails can cause an "email loop" within versaSRS, if that happens this Knowledge Base article contains detailed instructions for resolving it.
Click the Conditions tab and set which conditions for an incoming email, will trigger the Routing Rule. Within these Conditions you can specify Wild Card criteria that allows for partial matches; this is explained in more detail below.
| Condition | Description |
|---|---|
| to email address | Allows an email address to be specified so that any incoming emails sent To this address will be routed to the specified Team with the set categorisation. You can input more than one email within this field however each email needs to be separated by a semicolon ( ; ). By default, when checking conditions the Routing Rules will treat the To and Cc field email addresses as one long list of To recipients. Meaning that the To condition for a Routing Rule will be checked against all To and Cc email addresses that appear on the email, they will be checked against the rule from left to right in the order they are shown within the email. To disable this ensure the Global Settings Application Property RouteCCAsTo is set to Disabled. |
| from email address | Allows an email address to be specified so that any incoming emails From this address will be routed to the specified Team with the set categorisation. versaSRS 7.2.0 introduced the ability to specify multiple From addresses on a Rule, these must be separated by a semicolon ( ; ) |
| with specific words in the subject | Allows keywords to be specified so that incoming emails with the keyword(s) in the Subject line will be routed to the specified Team with the set categorisation |
| with specific words in the body | Allows keywords to be specified so that incoming emails with the keyword(s) in the Body of the email will be routed to the specified Team with the set categorisation |
| Wild Cards | Description |
|---|---|
| Keyword Wild Cards | An asterisk ( * ) can be used as a Wild Card character within the Subject and Body keywords so that partial word matches can trigger the Routing Rule. For example having *supp* as the Subject keyword will trigger the Routing Rule for incoming emails with Support or Supply in the subject line. |
| Domain Wild Cards | Domain Wild Cards are also supported for the To and From conditions by entering the domain part of the email address into the Email Address condition and pre-fixing it with an asterisk ( * ). For example having *@versadev.com in the From condition will result in all emails from the @versadev.com domain triggering the Routing Rule. |
Note: If you have created a Routing Rule and it is not functioning as expected, please refer to this Knowledge Base article for troubleshooting instructions.