New versaBoard Tutorial
In this tutorial you will learn how to build a versaBoard using the 3 Reports listed below that are available as Standard Reports in versaSRS.
- Active Cases By User
- Backlog Past 7 Days By User
- Overdue Cases By User
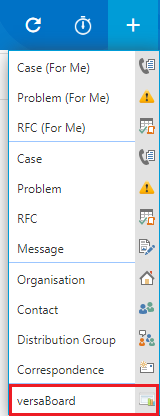
1. On the Navigation Header hover over the Create New icon and select the versaBoard option.
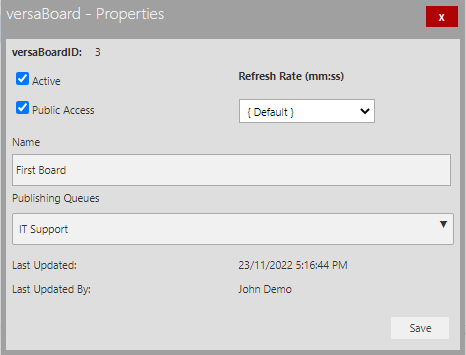
2. You will be presented with the versaBoard Properties, here is where you name the board and control which Users can view it. For now, input a name of your choosing and ensure the Active checkbox is ticked, then select Ok.
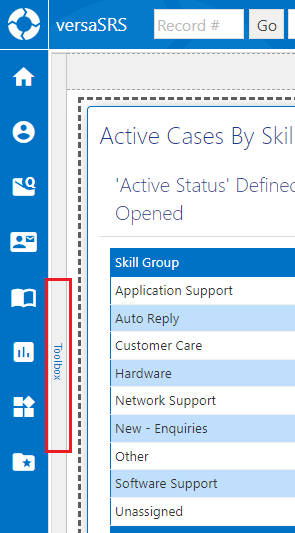
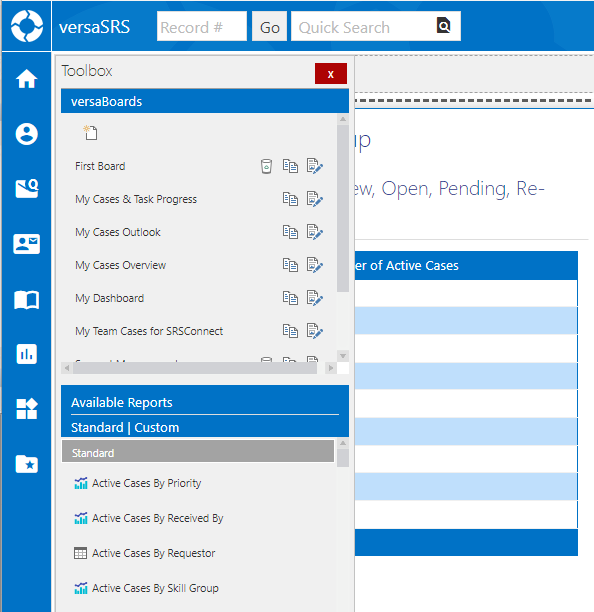
3. Click on the Toolbox option (shown outlined below) to expand it and display the available Reports.
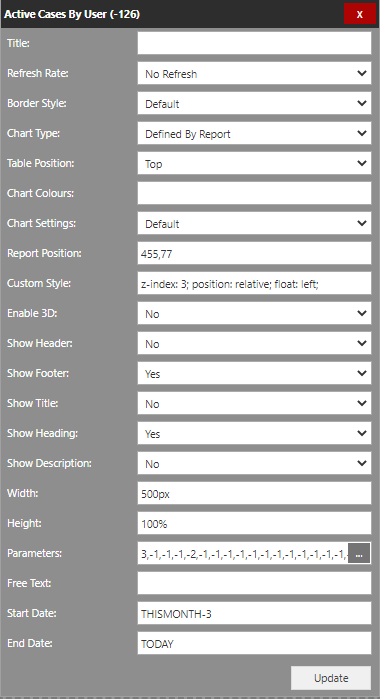
4. From the list of available Reports locate the one called 'Active Cases By User' and drag and drop it onto the blank versaBoard. Whenever you add a Report you will be presented with the Report Properties, set these values to match the image below, except for the values: Report Position, Custom Style, and Parameters. Be sure when modifying the properties you select Update to retain the configuration.
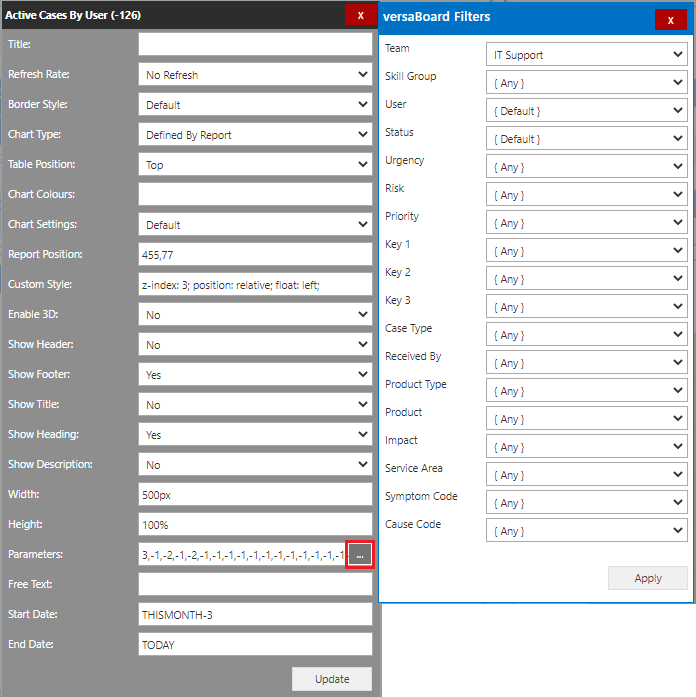
5. To set the Parameters for the Report you need to click the three dots to the far right of the Parameters field (outlined below). You can set these to whatever values you want (some will not be used if the Report query doesn't contain that specific parameter), or you can set them to match the image below. Be sure when editing Parameters you select Apply to confirm the selections, and also press Update to retain the new configuration.
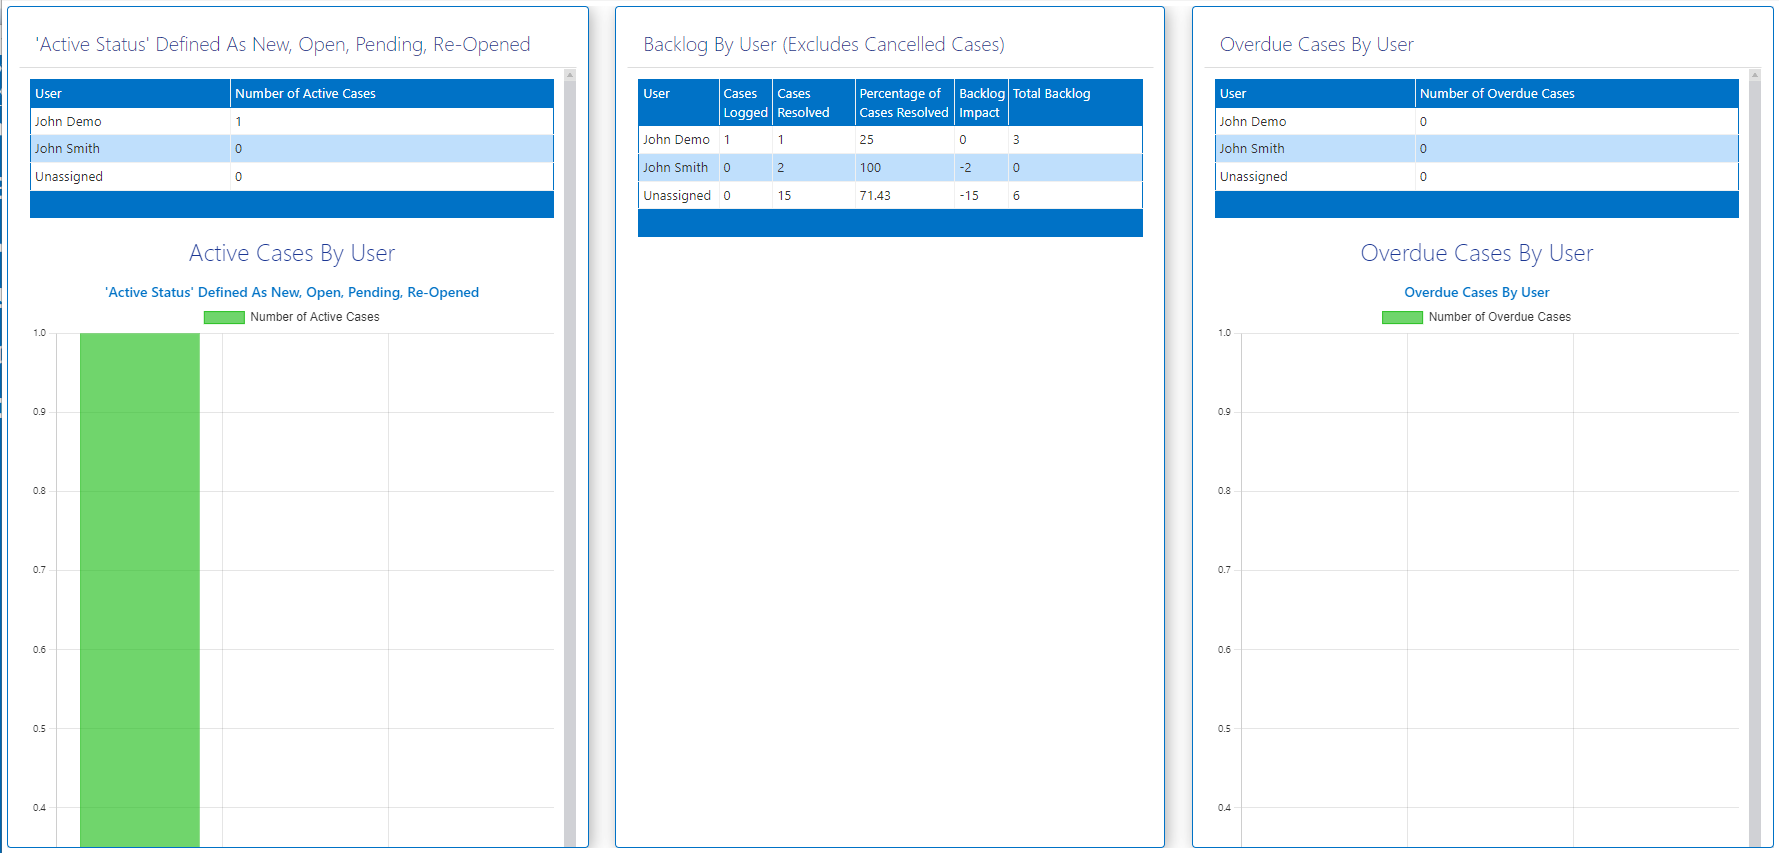
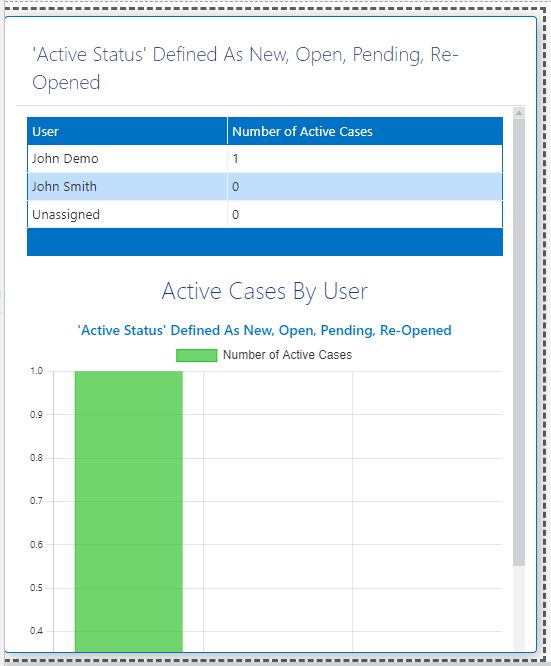
6. Once the Report has been saved by selecting the Update button, it should appear similarly to the below image:
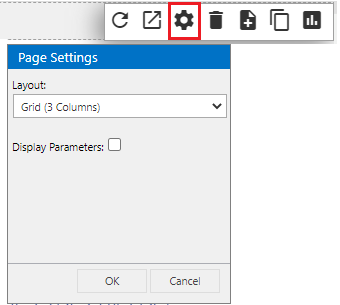
7. Before adding the other two Reports move your mouse toward the top right hand corner of the versaBoard to display the Design Mode icons, and select the Settings icon. From the Page Settings window, in the Layout drop-down, select the option 'Grid (3 Columns)' (as shown below) then click OK.
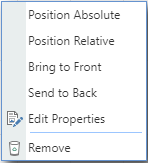
8. Repeat steps 4 - 6 for the two remaining Reports listed above. Once all three Reports are on the versaBoard right-click on each one individually and select the Position Relative option, this will organise them into neat columns. If desired use the Send to Front and Send to Back right click menu options to change the order of the Reports.
9. Once complete click on the Toggle Designer icon (outlined below) to exit Design Mode and the versaBoard should look similar to the below image.